Chicken Pot Pie

chicken_pot_pie

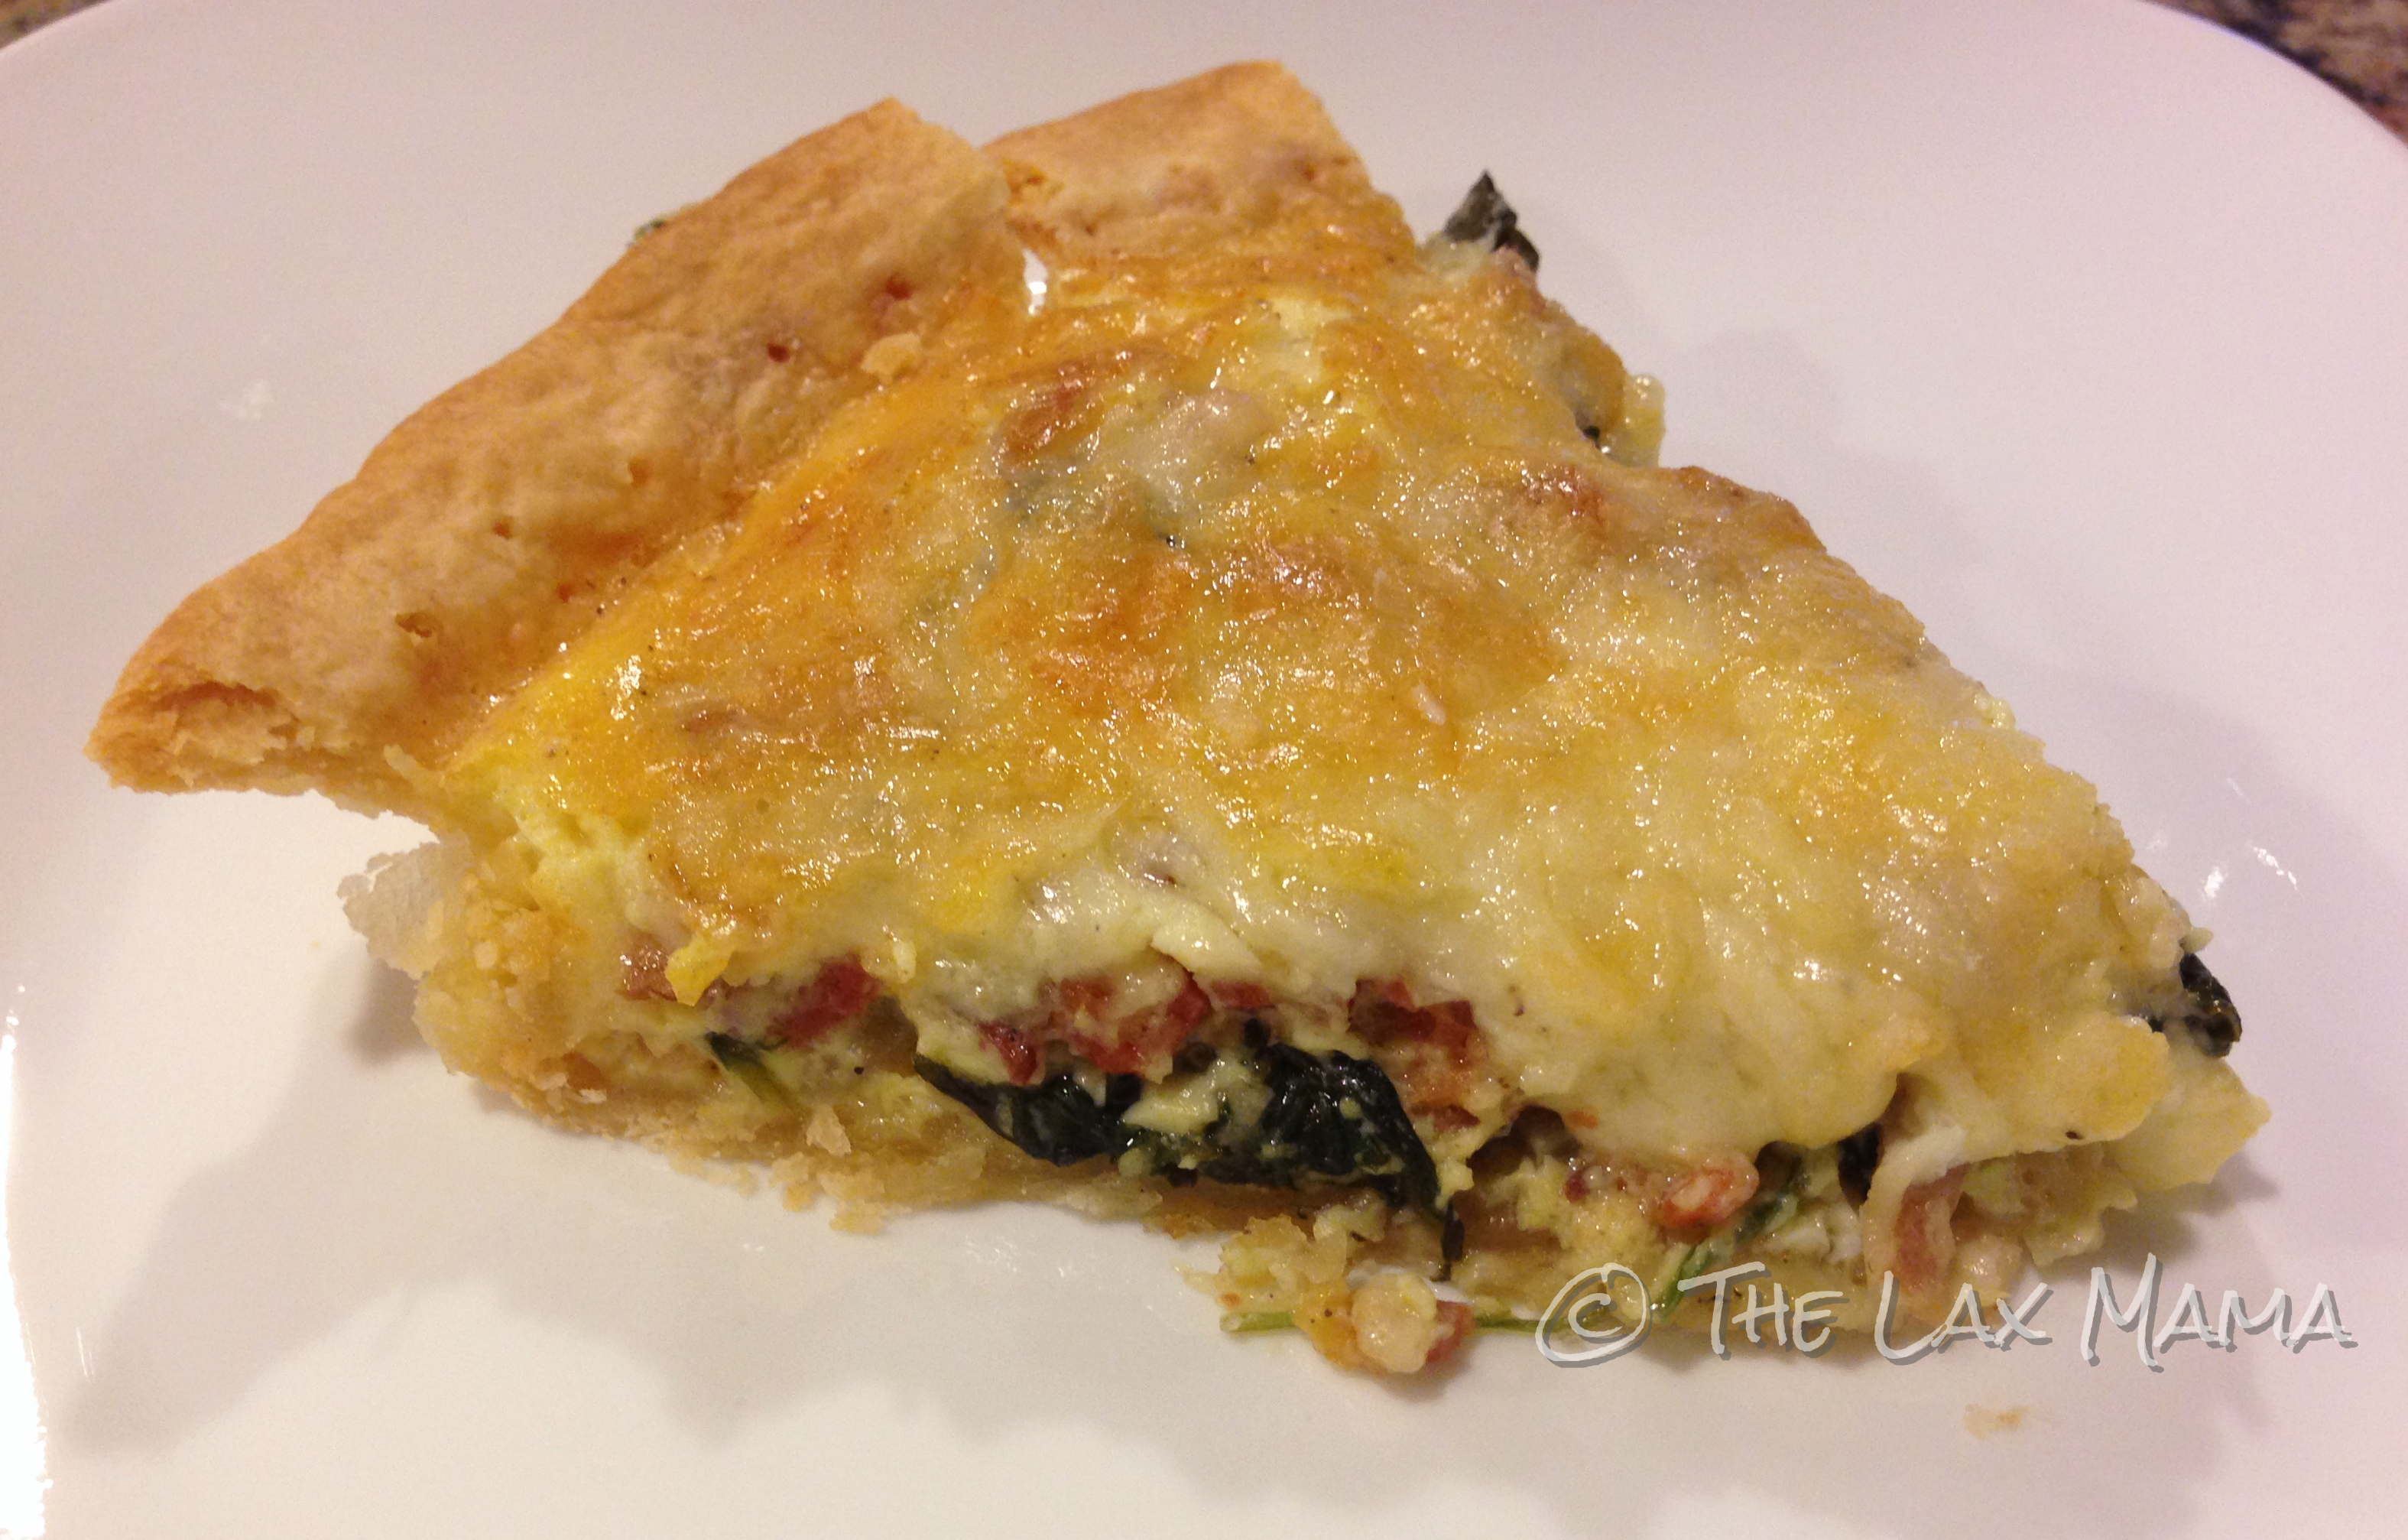
It’s beginning to get a little cooler here, which I hate because I love summer.  However, I do like the comfort foods that are associated with fall and winter–stews, roasts, and pot pie!  It was a rainy day when I made this last week and I had leftover rotisserie chicken, so pot pie it was!  This recipe is adapted from Ina Garten, so you know it’s good!!!

Ingredients
2 cups shredded chicken
5 cups chicken stock
2 chicken bouillon cubes
12 tbs. unsalted butter
2 cups chopped yellow onions
3/4 cup all purpose flour
1/4 cup heavy cream
2 cups diced carrots, blanched
10 oz package frozen peas
2 tsp. salt
1/2 tsp. pepper
Pie crust
1 egg, beaten with 1 tbs. water

Directions
Preheat oven to 350°F.

In a small saucepan, heat up chicken stock and bouillon cubes, making sure the cubes are fully dissolved.  In a large pot, melt butter over medium-low heat.  Add onions until they become translucent.  Add flour and turn the burner to low.  Stir mixture thoroughly until it becomes a very light brown, very wet sand with onion mixture.  Add stock and stir until it becomes thick.  Add salt, pepper, and heavy cream.  Taste and adjust seasoning accordingly.  Then add chicken, carrots, and peas; mix well.

Divide mixture into 4 ovenproof bowls.  Divide pie crusts into 4 pieces to cover the bowls.  Brush some egg wash on the edges of the bowl, then place pie crust.  Crimp and seal crust over the bowl.  Brush crust with egg wash, sprinkle pepper (and sea salt) on crust, and then cut 3 small slits into the crust.  Place bowls on a baking sheet and place in the oven for about 45 minutes to an hour, or until the crust is golden brown.

Cook’s Notes
This can be a baby led weaning recipe.  I would either take a baby portion of the crust and stew and have it sit in the freezer for at least 30 minutes before serving.  Or I would just cook the crust separately and serve the warmed stew and crust.  The stew bit is already cooked, but when it comes out of the oven it is soooooo piping hot.  My son’s pot pie sat for an hour, even after we put an ice cube in, before it was cool enough for him to eat.

To save time, I always use a cooked rotisserie chicken from the grocery store.  A whole chicken costs $4.99 where I am, and we never eat an entire one for dinner.  So I repurpose the leftover chicken into the pot pie.  It’s easier and saves me time.  I also buy pie crusts just because it’s easier and saves me time.  But I know some people like to make their own crusts, which you can do of course.

Advertisement

Mommy Makeup

makeup

So back in April I mentioned that I got a makeover done by Sephora to help me get a simple look in a quick amount of time.  I still do the routine the makeup artist taught me almost a year later.  Pictured above is me without makeup and then with makeup suggested to me by the makeup artist.

First and foremost, you need a good base.  And by base, you need a good moisturizer.  After every shower and when I wash my face I put these three products on my face.  I first apply NUDE Skincare Advanced Renewal Serum and then I apply the NUDE Skincare Advanced Renewal Moisturizer.  It doesn’t make my skin feel super oily and it keeps my skin youthful.  I then put Algenist Complete Eye Renewal Balm under my eyes.  Now this is an absolute must for all mothers out there!  Since using this product I have noticed that it has reduced the bags/dark circles under my eyes.  It seriously helps!!!  Buy it now!!!

Now on to the makeup.  Here’s what I use:

If I am super super short on time, then I only use the CC cream.  And because the Algenist Complete Eye Renewal Balm has seriously improved my eyes, I rarely use a concealer.

So that’s the makeup I use.  I highly recommend you carve out some time to make an appointment with Sephora to update your makeup and have them show you a good routine.  Not only will you be pampered, but they do make it feasible to make yourself up in a little amount of time.

Fabletics #1

fabletics

So I recently joined Fabletics (the Kate Hudson athletic wear line).  I thought why not get reasonably priced work out clothes that look good to help motivate me to work out more.  I almost ordered more Lulus, but the price of your first outfit with Fabletics was pretty hard to say no to.  I ordered the outfit pictured above (and I also apologize for looking so terrible; I just finished a run).

Pros
The clothes are actually great!  As advertised, they are definitely comparable to Lulus, Nike, etc.  I actually think the crops I bought are better than Lulus.  The fit is the same, but the fabric and quality of how they stitch it together is much better.  Definitely no underwear showing when I bend over.  😉  The pants stay up when I run, and there’s a little pocket for a key and/or cash.  The tank top is also nice, although nothing special.  But that’s ok as long as it’s breathable.

The price is fantastic!  So when you become a VIP member outfits (2-3 piece sets) start at $49.95!!!  That’s pretty cheap considering it’s hard to find good work out pants for that price on its own.  What’s even better is your first outfit is half off–so this outfit I’m wearing cost $29.97.  Yes, $29.97!!!

Cons
The only con right now is that you have to be a VIP member to get these deals, even though it is free to be a member.  Being a VIP member is basically a ponzi scheme to get you to keep buying their clothes.  So yes, your first outfit is 50% off.  But at the beginning of each month you have to log into your account and either buy a new outfit or say you want to skip.  I really don’t know anyone who needs a new workout outfit each month.  But the way they get you to stay is because you have to physically call them to unsubscribe/cancel your membership, which is super annoying because I’m sure they will try to talk you out of it.  While there’s no obligation to buy an outfit each month, it’s annoying to have to go to their website to say, “No, I don’t need an outfit this month.”  Admittedly, I did buy another outfit this month.  But let’s say you are super busy and forget to tell them you don’t want an outfit this month.  They charge you $49.95, which will be a credit toward a future outfit you want to buy–a bit annoying right?

While the quality for the price of Fabletics seems great, it’s just annoying to have to be a VIP member.  We’ll see how long I continue to be a member.

And in case you are curious, I’m wearing Nike In-Season TR 4 shoes and a Nike running hat to keep the sun off my face.

Braised Chicken and Kale

braise_chicken_kale

So this is a go to recipe in our home.  It is a very light, healthy meal that’s also rather filling.  That’s because I adapted this recipe from Cooking Light.  I end up making it once a week and I feel healthier for doing so (although I really don’t like kale and can’t wait for that food trend to end).

Ingredients
2 tbs. canola oil
4 chicken thighs
1/2 tsp. fresh ground black pepper
1/4 tsp. kosher salt
1/4 cup flour
5 garlic cloves, minced
16oz package chopped kale
14oz can diced tomatoes
2 cups chicken stock
1 tbs. red wine vinegar

Directions
Preheat oven to 325°F.

Heat a dutch oven over medium high heat.  Add the canola oil.  Season the chicken on both sides with salt and pepper, then dredge in the flour.  Place chicken, skin side down first in oil.  Render out most of the fat from the skin, about 5 minutes.  Then flip over chicken and brown for another 2-3 minutes.  Remove from dutch oven.

Take half of the kale and put in dutch oven.  Stir and then cover for 2 minutes to let the kale wilt down a bit.  Then take the remaining kale and garlic and add to the dutch oven.  Stir and cover again allowing the kale to wilt all the way down.  Then add tomatoes and its juices and stock.  Bring to a boil.  Use a wooden spoon to scrape the bottom bits off the dutch oven.  Then bring mixture down to a simmer.  Place chicken back inside the dutch oven.  Cover and place in the oven for about 50 minutes (or until the chicken reaches and internal temperature of 165°F).

Remove from oven when done.  Take chicken out and add vinegar to the veggies.

Cook’s Notes
I actually serve this with a side of rice because we can’t live without carbs in this house.  I’m sure it would go great with potatoes, or as pictured above.

This is actually a really great baby led weaning recipe.  Just take the skin off and shred the meat.  And make sure you give the kale without the rib pieces as those are far too tough to gum.  I mix it all up in a bowl with rice and serve it to my kids.  My daughter actually preferred the kale over the meat.

Huevos Rancheros

huevos_rancheros

So this is a breakfast I make if I’m not feeling lazy.  I also use some shortcuts to speed up the process since everyone seems to be hangry in the morning.  But it is pretty delicious to have first thing on a rainy Saturday morning, like today.

Ingredients
4-5 tortillas
Canola spray
Refried black beans (like this)
Bacon
1 tbs. canola oil
1/2 cup chopped onions
15 oz. can diced tomatoes
6 oz. can diced green chiles (optional)
1 tsp. chili powder (optional)
4-5 eggs
4-5 tbs. butter
Mexican blend cheese

Directions
In a medium skillet, heat up canola oil.  Saute onions until they become translucent. Then add the tomatoes (with the juice) and the chiles.  Stir in the chili powder and simmer for 10-15 minutes.

In a pan over medium high heat, I spray with canola spray and warm each tortilla individually.  About 2-3 minutes on each side.

I then take another pan on medium high heat and fry my eggs. I use a tablespoon of butter for each fried egg.

I then microwave my bacon and the refried black beans (separately of course).

I then plate my tortilla. Lather on a healthy portion of the black beans. Place my eggs on top. Then add a heaping spoonful or two of the tomato. And then I top it with some cheese and the bacon. So so so yummy!

Cook’s Notes:
I know you are probably rolling your eyes about microwavable bacon and refried black beans.  It makes expediting breakfast in a timely matter so much faster when you have a hangry husband and toddler.  If you have the time, go for it and make things from scratch.  I would probably bake the bacon in the oven before I started the tomatoes. But this meal can seriously be made in 30 minutes the way I do it.

While my son has been eating this meal since he was 18ish months old, I wouldn’t call this a baby led weaning recipe per se.  You can definitely give each component to your baby. The only reason why we didn’t do this as a baby led weaning recipe is because we put chiles and chili powder in the tomatoes, which sometimes can be a bit spicy for my now 3 year old.  You can obviously eliminate them if you do want to make this a recipe fit for you 6+ month old child. However, it just doesn’t taste as good for the adults to add these crucial flavor components afterwards like you can with salt.  I also give my son scrambled eggs instead of fried eggs.

Date Night–NYC

date_night_nyc

My husband recently had a business trip in NYC, and so I joined him for one night to have a date night (I know it’s a bit extravagant, but we really needed one and we are so grateful to my parents for watching the kids).  Date night consisted of a leisurely (and hot!) dinner at Piora in the West Village and then going back to the hotel to sleep in–perfection!  Anyhoo, this is what I wore for our fancy dinner.

The dress was sent to me from Stitch Fix and is by Collective Concepts.  They originally sent me this dress because I requested something to wear at the beach.  My stylist seemed to think this was appropriate to wear to cover up from the sand to the boardwalk?!  I wrote back that while I love the dress I don’t think something that is dry clean only works for what she was suggesting!  While I ordinarily love Stitch Fix, this was definitely their first (semi) miss.  I did buy it because I knew I would wear it for date nights (I’ve worn it twice now).  I think it also is a great wear to work and then happy hour outfit–just slip on a blazer for work and take it off for happy hour.  I actually brought a dark denim jacket with me that night just in case I got cold, which would dress down the outfit.  So while the Stitch Fix suggestion was inappropriate (I honestly think they were just trying to get rid of some inventory), I still find a lot of versatility in the dress.  If only the dress was machine washable, and then I would totally wear it while lugging around a kid.

earrings

Another great detail I added to this outfit were my earrings from Bauble Bar (similar to these).  My husband actually called them the Statue of Liberty earrings.  They definitely added a little character to my outfit.  I also love how unique they are without them being dangling earrings, which is perfect for little children who try to grab things that dangle like earrings and necklaces.  My daughter looks at them and that’s about it.  So if you are looking for earrings beyond your studs, you should really think about these!!!

And then I completed the outfit with my Dolce Vita sandals.  I would have worn heels, but I knew we would walk a lot in the city.  We ended up walking back to the hotel in Chelsea from the West Village.  Which probably also wasn’t the best choice in these sandals since they offer no support for you foot whatsoever.  But at least I wasn’t dying in heels, which I know would have happened.

P.S.  Sorry for the poor picture quality.  They were taken in the hotel room with my iPhone and poor lighting since I left the DSLR at home.

Growing Up

Today is Oliver’s first day of school, now in the 3 year old classroom.  It amazes me, saddens me, and excites me that he is 3 years old and embarking on a new journey today.  Everyone tells you that it goes by so fast, and these milestones help to remind you how the days, weeks, months, years get shorter and shorter.  It feels like it was just yesterday he was helpless during tummy time, and in a blink of an eye he’s forming sentences and has a mind and will of his own.

So to all the parents out there with kids who are off to school for the year, I wish your child good luck and hope that they are forever curious.

Baked Zucchini Fries

baked_zucchini_fries

With summer coming to a close, so does our version of French fries.  These baked zucchini fries make a great side dish or snack (or in the case of my kids, their main course).  Pair it with this homemade avocado ranch dipping sauce, and you’ll have a great snack for watching that football game with your adult pals.

Ingredients
1 large zucchini, cut into fry shape
1 egg, beaten
1/2 cup Italian bread crumbs
1/4 cup parmesan cheese
cooking spray

Directions
Preheat the oven to 425°F.  Take a cookie sheet, line it with foil, then spray with cooking spray.

Combine the bread crumbs and cheese in a shallow bowl.  Whisk eggs in a separate shallow bowl.

Take the zucchini, dip in the eggs, coat in the bread crumb mixture, and then place on your baking sheet.

Place in the oven for 20 minutes, turning the fries over after 10 minutes.

Cook’s Notes
chef_OllieThis is actually a great recipe to have a toddler help you with.  My son loves to help out in the kitchen, and this is our go to recipe to make his “French fries” (this is what he calls them).  I have him beat the eggs a little.  I place the zucchini in the eggs and then mix it in the bread crumbs.  I then have him fish for the zucchini to place on the baking sheet.  Obviously, you know your child best, so whatever task you feel comfortable with them doing you should have them do.  Just make sure you aren’t too pressed for time since little kids are super super slow, and that you are ok with a mess because little kids just don’t know what clean really means.

eatingThis is also a great baby led weaning recipe.  The fries provide different, great textures–the crunchy coat and the soft middle of the zucchini.  It’s also a great shape for your baby to easily pick up on their own to feed themselves.  They might not be so keen on the dipping sauce, but they will love the fries themselves.

Play Date To Date Night

stitch_fix_2_

So here’s another Stitch Fix top (I know, I know!  Everything seems to be from Stitch Fix!!!).  I like the top, but it’s not that practical if you are breastfeeding.  The buttons are decorative, so it won’t open enough for me to easily feed Sammy.  But I don’t mind it so much at this stage because I only feed Sammy 3-4 times a day.  I actually love wearing this top if I am going out to run errands with kids in tow, and then I can easily dress them up with some heeled sandals for a casual date night (preferably with margaritas).

The top is from Stitch Fix by Fun2Fun.  The jeans are distressed boyfriend jeans from J.Crew Factory, similar to these.  The shoes on the left are Toms and the sandals are Steve Madden.

P.S.  I hate taking selfies, so excuse that picture.

Spinach and Bacon Quiche

quiche

This is a great go to recipe in our home.  When my son was first learning how to eat, this was a major hit with him.  My daughter tried it tonight, and she too loved it (although I was picking out the bacon pieces).  It’s a great dish to sneak in some good spinach.  Most of all, I love how I can make it for dinner and then reheat it for breakfast and lunch.  How can you not enjoy pie dough for all three meals?!?!

Ingredients
Pie dough for a 9″ pie or tart pan
6 oz. bag of baby spinach
1/2 cup chopped shallots
1 minced garlic
1 tbs. olive oil
~5 cooked bacon strips
1 cup milk
1/2 cup heavy cream
3 eggs
1/2 tsp. pepper
A dash of nutmeg
1 cup cheese (cheddar or gruyere)

Directions
Preheat oven to 350°F.

You will need to blind bake your pie crust.  This means slightly baking your pie crust, that way your crust and filling will finish at the same time.  To do this, line your crust with parchment paper (or foil) and fill with pie weights (or dry beans you have lying around).  Pop it in the oven and bake for 20 minutes.  After 20 minutes, remove the weights and poke the dough all over with a fork.  Then pop it back into the oven for another 10 minutes.

While your dough is baking, cook your bacon strips.  You can do a quick short cut and buy microwavable bacon too.  Just make sure your bacon is pretty crispy to give your quiche more texture.  I feel like soggy bacon gives you a more ham-type texture.  When your bacon is done, finely chop and set aside.

In a saute pan over medium heat, add the olive oil.  Saute your shallots until they become translucent.  Add half of the baby spinach and cover it for 2-3 minutes to allow the spinach to wilt down.  Then add the rest of the spinach and cover again for 2-3 minutes.  Add the garlic and mix for another minute or two, then place mixture in a bowl and set aside.

In a bowl, thoroughly mix the milk, heavy cream, eggs, pepper, and nutmeg.  Set custard aside.

When your pie crust is done blind baking, add the spinach mixture and evenly spread.  Then add the bacon and cheese.  Slowly add your custard mixture making sure things don’t overflow.  Place in the oven for 30-40 minutes (your quiche should be firm, but jiggle a bit).  Allow your quiche to cool for 10 minutes and serve.

quiche2You can omit the bacon if your baby isn’t ready to eat it (which I would do with Sammy).  I also didn’t add any salt because I feel like you get enough saltiness from the bacon.  So if you omit the bacon, you may want to add salt (unless you are baby led weaning, in which case you are probably becoming very familiar with your salt shaker by now).  Like I said earlier, such a great go to dish!