Chorizo Brussel Sprout Hash

chorizo_brussels_sprout_hash

I’ve been on a runny egg kick the last couple of weeks.  Any chance I get to cook I want to make sure I can have a runny egg with it, whether it be poached, sunnyside up, or a good ol’ fried egg!  And not just an egg with toast and bacon; I want a flavorful meal and my runny egg to add a little velvety sauce on top.  And that’s why I decided to make a hash!!!  Yes, I went there!

Ingredients
3/4 lb. chorizo, diced
1 medium yellow onion, chopped
4 red potatoes, diced
3/4 lb. brussel sprouts, shaved
2 tbs. olive oil
salt
pepper

Directions
On medium high heat, heat up the olive oil in a cast iron skillet.  When the skillet is hot, brown the chorizo.  When the chorizo is browned, take the chorizo out and set aside.  Keep the oil/fat in the skillet.

Next, add the potatoes and stir occasionally.  If you stir prematurely the potatoes will stick to the bottom because the potatoes will not brown/caramelize.  This takes a long time, anywhere between 15 minutes to 30 minutes depending on how big your potatoes are cut.  When your potatoes have browned, add the onions and brussel sprouts and stir.  Add salt and pepper to taste.  Take off the heat when the onions are translucent and the brussel sprouts have wilted a little bit. Then add your chorizo and juices.  Mix well and then serve a fried egg on top!

Cook’s Note
I find that the chorizo I buy is spicy enough for my family, especially since I cook everything in one pan and  some of the chorizo spices get incorporated into the potatoes.  If you don’t find it spicy enough, definitely add cayenne or even hot sauce.

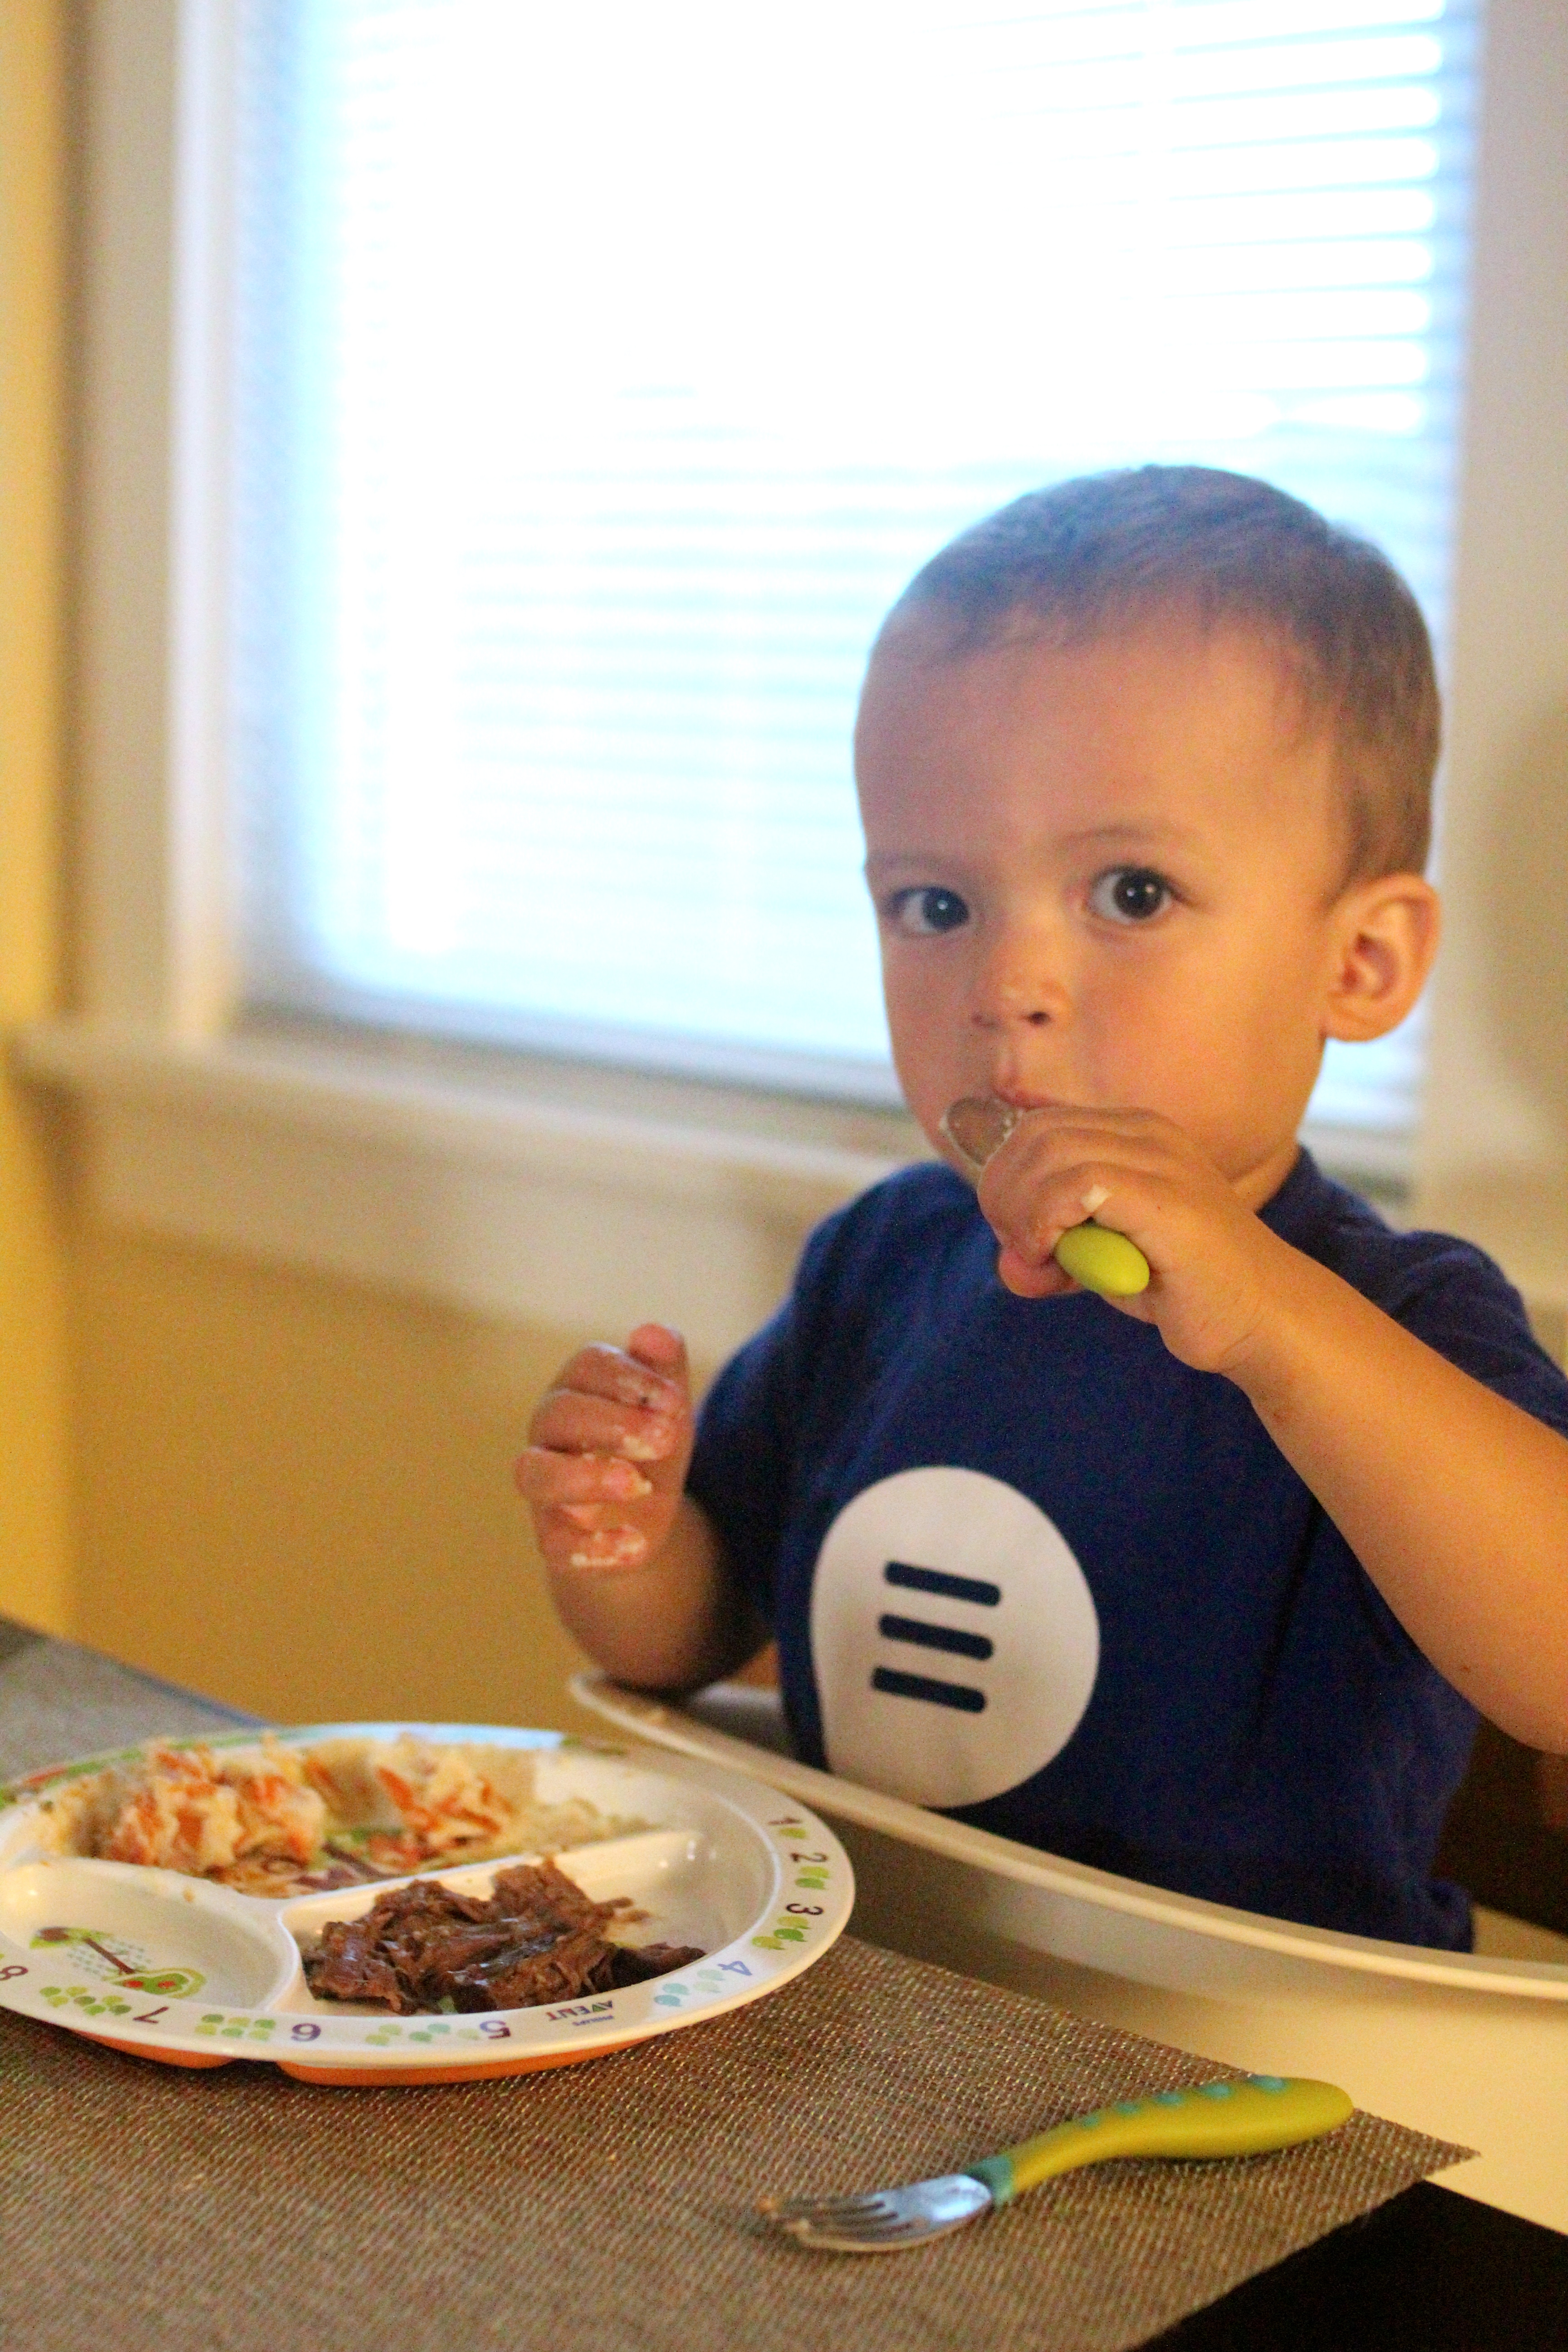
I would not recommend this to babies or even toddlers.  My 3 year old finds the chorizo too spicy.  You can switch out the chorizo with bacon instead if you want to make it more toddler friendly.  Or you can just get rid of the meat and make it a brussel sprout hash to make it a friendlier baby led weaning recipe.

Advertisement

Herbed Baked Eggs

baked_eggs

So for my brother’s birthday I made this quick, but luxurious and simple brunch/breakfast for him.  If you want to make someone feel special, but don’t really have the time to do it, I highly recommend this recipe.  This is adapted from Ina Garten (via Chrissy Teigan), so again it will be Y-U-M-M-Y!

Ingredients
1/2 tsp. minced garlic
1/2 tsp. minced fresh thyme
1/2 tsp. minced fresh rosemary
2 tbs. grated parmesan
8 large eggs
4 tbs. heavy cream
2 tbs. unsalted butter
salt and pepper to taste

Directions
Set the oven rack 6 inches from the broiler and preheat the oven on broil for 5 minutes.

Combine garlic, thyme, rosemary, and parmesan in a bowl and set aside.  Set out 4 cups/small bowls, and crack two eggs in each bowl, being careful not to break the yolk (otherwise you’ll have baked scrambled eggs).  Add salt and pepper to eggs.

Take 4 individual serving sized baking dishes and place on a cookie sheet (make sure the dish is broiler safe!!!).  Put a tablespoon of cream and 1/2 tablespoon of butter into each baking dish.  Place under the broiler for 3 minutes, or until the cream and butter are hot and bubbly.  Take out of the oven, add the 2 eggs, and sprinkle the herb mixture on top.  Place back under the broiler for 5 to 6 minutes, until the egg whites are almost cooked.  Take out of the oven and let the eggs set for a minute before serving with buttered toast.

Cook’s Notes
So the original recipe calls for 3 eggs, but my gratin dishes were definitely too small for 3 eggs.  If you have dishes that are a bit bigger, definitely go for 3 eggs.  I thought 2 eggs was more than enough for us and it also meant the eggs were creamier and herby.

The recipe also calls for fresh parsley.  We didn’t have fresh parsley in the house, so I omitted it from this recipe.  However, if we did have parsley I think I would have added it after the eggs were cooked in the broiler.  It was fine without the parsley too.  If you don’t have fresh herbs, you can use dried herbs but definitely use a 1/3 of what the recipe calls for since dried herbs are more potent.

This recipe is also for 4 people.  My brother and I like our eggs a little runny, so I pulled out two dishes at around 6 minutes.  If you like your yolks more firm, keep the eggs under the broiler for a few more minutes.  As long as your eggs are 6 inches away from the broiler, I find that it won’t completely burn if you choose to have a firmer egg.  But remember that when you pull the eggs out, it’s still cooking a bit when it sets up.

Chicken Pot Pie

chicken_pot_pie

It’s beginning to get a little cooler here, which I hate because I love summer.  However, I do like the comfort foods that are associated with fall and winter–stews, roasts, and pot pie!  It was a rainy day when I made this last week and I had leftover rotisserie chicken, so pot pie it was!  This recipe is adapted from Ina Garten, so you know it’s good!!!

Ingredients
2 cups shredded chicken
5 cups chicken stock
2 chicken bouillon cubes
12 tbs. unsalted butter
2 cups chopped yellow onions
3/4 cup all purpose flour
1/4 cup heavy cream
2 cups diced carrots, blanched
10 oz package frozen peas
2 tsp. salt
1/2 tsp. pepper
Pie crust
1 egg, beaten with 1 tbs. water

Directions
Preheat oven to 350°F.

In a small saucepan, heat up chicken stock and bouillon cubes, making sure the cubes are fully dissolved.  In a large pot, melt butter over medium-low heat.  Add onions until they become translucent.  Add flour and turn the burner to low.  Stir mixture thoroughly until it becomes a very light brown, very wet sand with onion mixture.  Add stock and stir until it becomes thick.  Add salt, pepper, and heavy cream.  Taste and adjust seasoning accordingly.  Then add chicken, carrots, and peas; mix well.

Divide mixture into 4 ovenproof bowls.  Divide pie crusts into 4 pieces to cover the bowls.  Brush some egg wash on the edges of the bowl, then place pie crust.  Crimp and seal crust over the bowl.  Brush crust with egg wash, sprinkle pepper (and sea salt) on crust, and then cut 3 small slits into the crust.  Place bowls on a baking sheet and place in the oven for about 45 minutes to an hour, or until the crust is golden brown.

Cook’s Notes
This can be a baby led weaning recipe.  I would either take a baby portion of the crust and stew and have it sit in the freezer for at least 30 minutes before serving.  Or I would just cook the crust separately and serve the warmed stew and crust.  The stew bit is already cooked, but when it comes out of the oven it is soooooo piping hot.  My son’s pot pie sat for an hour, even after we put an ice cube in, before it was cool enough for him to eat.

To save time, I always use a cooked rotisserie chicken from the grocery store.  A whole chicken costs $4.99 where I am, and we never eat an entire one for dinner.  So I repurpose the leftover chicken into the pot pie.  It’s easier and saves me time.  I also buy pie crusts just because it’s easier and saves me time.  But I know some people like to make their own crusts, which you can do of course.

Braised Chicken and Kale

braise_chicken_kale

So this is a go to recipe in our home.  It is a very light, healthy meal that’s also rather filling.  That’s because I adapted this recipe from Cooking Light.  I end up making it once a week and I feel healthier for doing so (although I really don’t like kale and can’t wait for that food trend to end).

Ingredients
2 tbs. canola oil
4 chicken thighs
1/2 tsp. fresh ground black pepper
1/4 tsp. kosher salt
1/4 cup flour
5 garlic cloves, minced
16oz package chopped kale
14oz can diced tomatoes
2 cups chicken stock
1 tbs. red wine vinegar

Directions
Preheat oven to 325°F.

Heat a dutch oven over medium high heat.  Add the canola oil.  Season the chicken on both sides with salt and pepper, then dredge in the flour.  Place chicken, skin side down first in oil.  Render out most of the fat from the skin, about 5 minutes.  Then flip over chicken and brown for another 2-3 minutes.  Remove from dutch oven.

Take half of the kale and put in dutch oven.  Stir and then cover for 2 minutes to let the kale wilt down a bit.  Then take the remaining kale and garlic and add to the dutch oven.  Stir and cover again allowing the kale to wilt all the way down.  Then add tomatoes and its juices and stock.  Bring to a boil.  Use a wooden spoon to scrape the bottom bits off the dutch oven.  Then bring mixture down to a simmer.  Place chicken back inside the dutch oven.  Cover and place in the oven for about 50 minutes (or until the chicken reaches and internal temperature of 165°F).

Remove from oven when done.  Take chicken out and add vinegar to the veggies.

Cook’s Notes
I actually serve this with a side of rice because we can’t live without carbs in this house.  I’m sure it would go great with potatoes, or as pictured above.

This is actually a really great baby led weaning recipe.  Just take the skin off and shred the meat.  And make sure you give the kale without the rib pieces as those are far too tough to gum.  I mix it all up in a bowl with rice and serve it to my kids.  My daughter actually preferred the kale over the meat.

Huevos Rancheros

huevos_rancheros

So this is a breakfast I make if I’m not feeling lazy.  I also use some shortcuts to speed up the process since everyone seems to be hangry in the morning.  But it is pretty delicious to have first thing on a rainy Saturday morning, like today.

Ingredients
4-5 tortillas
Canola spray
Refried black beans (like this)
Bacon
1 tbs. canola oil
1/2 cup chopped onions
15 oz. can diced tomatoes
6 oz. can diced green chiles (optional)
1 tsp. chili powder (optional)
4-5 eggs
4-5 tbs. butter
Mexican blend cheese

Directions
In a medium skillet, heat up canola oil.  Saute onions until they become translucent. Then add the tomatoes (with the juice) and the chiles.  Stir in the chili powder and simmer for 10-15 minutes.

In a pan over medium high heat, I spray with canola spray and warm each tortilla individually.  About 2-3 minutes on each side.

I then take another pan on medium high heat and fry my eggs. I use a tablespoon of butter for each fried egg.

I then microwave my bacon and the refried black beans (separately of course).

I then plate my tortilla. Lather on a healthy portion of the black beans. Place my eggs on top. Then add a heaping spoonful or two of the tomato. And then I top it with some cheese and the bacon. So so so yummy!

Cook’s Notes:
I know you are probably rolling your eyes about microwavable bacon and refried black beans.  It makes expediting breakfast in a timely matter so much faster when you have a hangry husband and toddler.  If you have the time, go for it and make things from scratch.  I would probably bake the bacon in the oven before I started the tomatoes. But this meal can seriously be made in 30 minutes the way I do it.

While my son has been eating this meal since he was 18ish months old, I wouldn’t call this a baby led weaning recipe per se.  You can definitely give each component to your baby. The only reason why we didn’t do this as a baby led weaning recipe is because we put chiles and chili powder in the tomatoes, which sometimes can be a bit spicy for my now 3 year old.  You can obviously eliminate them if you do want to make this a recipe fit for you 6+ month old child. However, it just doesn’t taste as good for the adults to add these crucial flavor components afterwards like you can with salt.  I also give my son scrambled eggs instead of fried eggs.

Baked Zucchini Fries

baked_zucchini_fries

With summer coming to a close, so does our version of French fries.  These baked zucchini fries make a great side dish or snack (or in the case of my kids, their main course).  Pair it with this homemade avocado ranch dipping sauce, and you’ll have a great snack for watching that football game with your adult pals.

Ingredients
1 large zucchini, cut into fry shape
1 egg, beaten
1/2 cup Italian bread crumbs
1/4 cup parmesan cheese
cooking spray

Directions
Preheat the oven to 425°F.  Take a cookie sheet, line it with foil, then spray with cooking spray.

Combine the bread crumbs and cheese in a shallow bowl.  Whisk eggs in a separate shallow bowl.

Take the zucchini, dip in the eggs, coat in the bread crumb mixture, and then place on your baking sheet.

Place in the oven for 20 minutes, turning the fries over after 10 minutes.

Cook’s Notes
chef_OllieThis is actually a great recipe to have a toddler help you with.  My son loves to help out in the kitchen, and this is our go to recipe to make his “French fries” (this is what he calls them).  I have him beat the eggs a little.  I place the zucchini in the eggs and then mix it in the bread crumbs.  I then have him fish for the zucchini to place on the baking sheet.  Obviously, you know your child best, so whatever task you feel comfortable with them doing you should have them do.  Just make sure you aren’t too pressed for time since little kids are super super slow, and that you are ok with a mess because little kids just don’t know what clean really means.

eatingThis is also a great baby led weaning recipe.  The fries provide different, great textures–the crunchy coat and the soft middle of the zucchini.  It’s also a great shape for your baby to easily pick up on their own to feed themselves.  They might not be so keen on the dipping sauce, but they will love the fries themselves.

Spinach and Bacon Quiche

quiche

This is a great go to recipe in our home.  When my son was first learning how to eat, this was a major hit with him.  My daughter tried it tonight, and she too loved it (although I was picking out the bacon pieces).  It’s a great dish to sneak in some good spinach.  Most of all, I love how I can make it for dinner and then reheat it for breakfast and lunch.  How can you not enjoy pie dough for all three meals?!?!

Ingredients
Pie dough for a 9″ pie or tart pan
6 oz. bag of baby spinach
1/2 cup chopped shallots
1 minced garlic
1 tbs. olive oil
~5 cooked bacon strips
1 cup milk
1/2 cup heavy cream
3 eggs
1/2 tsp. pepper
A dash of nutmeg
1 cup cheese (cheddar or gruyere)

Directions
Preheat oven to 350°F.

You will need to blind bake your pie crust.  This means slightly baking your pie crust, that way your crust and filling will finish at the same time.  To do this, line your crust with parchment paper (or foil) and fill with pie weights (or dry beans you have lying around).  Pop it in the oven and bake for 20 minutes.  After 20 minutes, remove the weights and poke the dough all over with a fork.  Then pop it back into the oven for another 10 minutes.

While your dough is baking, cook your bacon strips.  You can do a quick short cut and buy microwavable bacon too.  Just make sure your bacon is pretty crispy to give your quiche more texture.  I feel like soggy bacon gives you a more ham-type texture.  When your bacon is done, finely chop and set aside.

In a saute pan over medium heat, add the olive oil.  Saute your shallots until they become translucent.  Add half of the baby spinach and cover it for 2-3 minutes to allow the spinach to wilt down.  Then add the rest of the spinach and cover again for 2-3 minutes.  Add the garlic and mix for another minute or two, then place mixture in a bowl and set aside.

In a bowl, thoroughly mix the milk, heavy cream, eggs, pepper, and nutmeg.  Set custard aside.

When your pie crust is done blind baking, add the spinach mixture and evenly spread.  Then add the bacon and cheese.  Slowly add your custard mixture making sure things don’t overflow.  Place in the oven for 30-40 minutes (your quiche should be firm, but jiggle a bit).  Allow your quiche to cool for 10 minutes and serve.

quiche2You can omit the bacon if your baby isn’t ready to eat it (which I would do with Sammy).  I also didn’t add any salt because I feel like you get enough saltiness from the bacon.  So if you omit the bacon, you may want to add salt (unless you are baby led weaning, in which case you are probably becoming very familiar with your salt shaker by now).  Like I said earlier, such a great go to dish!

Turkey Meatloaf

IMG_4966

So with Sammy getting the hang of eating solids, we decided it was time to venture out from fruits and veg into meats. This Ina Garten recipe was a hit when Oliver was her age, and so tonight it was Sammy’s turn (she was a bit skeptical, but ate it with a little mash and steamed carrots).  I halved the recipe because no one wants meatloaf for days.

Ingredients
1 1/2 cup of chopped onions
1 tbs. olive oil
1/2 tsp. of fresh thyme
1 tsp. kosher salt
1/2 tsp. freshly ground black pepper
1/6 cup of Worcestershire sauce
3/8 cup of chicken stock
3/4 tsp. tomato paste
2 1/2 lbs. of ground turkey
3/4 cup of plain bread crumbs
1 egg, beaten
~1/2 cup of ketchup

Directions
Preheat the oven to 325°F.

Warm the olive oil in a saute pan over medium heat.  Add onions, thyme, salt, and pepper and cook until the onions are translucent.  Mix in the Worcestershire sauce, chicken stock, and tomato paste.  Take mixture and put in a bowl and let it cool in the freezer for about 5-10  minutes.  You don’t want to put your hot mixture in with your cool turkey because you will end up cooking some of the turkey.  Plus you don’t want to burn yourself doing the next step.

In a large bowl, combine onion mixture, turkey, bread crumbs, and egg. Mix well, but don’t over mix the turkey.  Once combined, put mixture on a baking sheet (I usually line mine with aluminum foil so there’s less clean up) and form mixture into a loaf shape.  Then take the ketchup and spread it evenly on top using an offset spatula.

Place in the oven for about 45-50 minutes, or until you get an internal temperature of 160°F (I always go by internal temperature).  Serve immediately and the next day the leftovers can be used in sandwiches.

Crock-Pot Pot Roast

pot_roast

crock_potProbably not the best post photo of food I’ve ever taken, but it’s hard to take a nice fancy plated photo when you have a monster demanding dinner and daddy monster away for the evening.

Anyhoo… I don’t know why, but I really don’t like using my crock-pot.  I know it is convenient cause you just throw things in the pot, set it, and then forget it.  I also know that it is much safer than say braising something in the oven, which is my preferred method of cooking.  But today I forced myself to find a decent recipe for the crock-pot.  With Baby #2 on the way, I doubt I’ll have time to really slave over a stove and oven.  Although this recipe probably isn’t the easiest of crock-pot recipes.  I adapted a Food Network recipe, and it was pretty tasty.

ingredientsIngredients
3-4 lb. chuck roast
kosher salt and freshly ground black pepper
1/3 cup flour
2 tbs. olive oil
1-2 tbs. butter
4 medium carrots, chopped into 1 in. pieces
4 stalks celery, chopped into 1 in. pieces
1 medium onion, chopped into 2 in. pieces
3 cloves garlic, minced
3 tbs. tomato paste
1 cup red wine
3 cups low-sodium beef broth
4 bay leaves
2 sprigs fresh thyme
1/2 tsp. all spice

Directions
Generously sprinkle kosher salt and ground pepper on your roast.  Heat the olive oil in a medium-high skillet.  Sear all sides of the roast (about 4 minutes per side), then transfer into the crock-pot along with your chopped veggies.

Reduce the heat to medium, and add the butter and tomato paste to your skillet.  Stir with a wooden spoon until you achieve a brick reddish color.  Grab a whisk, add the flour, and then add the wine.  Whisk vigorously.  You’ll end up with clumps, which is ok.  Make sure you try to scrape the bits off the bottom of the skillet.  Add the beef broth, bay leaves, thyme, and all spice.  Bring to a simmer.  Add some salt and pepper to taste.  Whisk until the gravy has thickened (it’s ok if there are still a few lumps).

cookingPour the gravy into the crock-pot.  Cover and set to low for 8-ish hours (or if you are in a hurry, high for 3-4 hours).  Your roast is done if both the veg and meat are tender (the meat basically falls apart with just a tug of the fork).  I also make sure that the meat reaches an internal temperature of 160°F.

Take the meat out, cut against the grain, place on your serving platter.  Toss the thyme and any of the bay leaves you can find.  Strain the veg and place along side your meat.  You should be left with the gravy in the crock-pot.  Taste it as it may need additional salt and pepper.  Take a little gravy and pour over your platter just to moisten, and serve the rest of the gravy on the side in your gravy boat.


oliver_pot_roast

I serve this with a side of mash potatoes for Oliver and I.  He did look at it a bit hesitantly.  But he does that with every meal, including cake!

oliver_approved

But judging from that face, it was a huge hit!  He also wanted a second portion of mash.  Not sure where he is putting all this food…

I’ve made pot roast before for Oliver when he was much younger and doing the baby led weaning.  You can give your baby everything in the pot, just make sure the chunks of meat are large.  They’ll end up gnawing and sucking on the beef, which is fine (they are getting some iron and enjoying the flavors).  Just make sure you leave out all the salt.

Zucchini Carrot Fritter

zuccini_carrot_fritter

Of all the recipes I have to get vegetables in Baby Monster, this is the one that he always enjoys.  And when you serve it with a dill sour cream sauce, it works as a great adult appetizer or munchie.  Adults love it, Baby Monster loves it–win win!

Ingredients
2 medium zucchinis, grated
2-3 medium carrots, grated
3 large eggs
~1/4 cup flour (I use whole wheat)
pepper, nutmeg to taste (salt optional*)
1 cup olive oil (for shallow frying)

Directions
Grate your zucchinis and carrots.  I use my food processor with the grater attachment to save time.  Add eggs and stir to combine.  Add your seasonings and stir again.  Then add your flour and combine until the vegetables become pancake like.  You may need more or less flour depending on the size of your vegetables.

Heat the olive oil in a shallow pan over medium heat.  I take a cookie scoop to scoop the vegetable mixture, place it in the hot oil, and then I use the back of the scoop to flatten it out to make a pancake.  Alternatively, you can use a spoon to do this, but I find the cookie scoop the easiest.  I usually put about 4 or 5 in a pan, but don’t over crowd your pan because it will cool your oil and makes the food more greasy.  Fry on each side for 2-3 minutes.  Transfer to a power towel covered plate.  You can serve as is or add more salt before serving.

*Salt should not be consumed by babies and young children, especially if they have difficulty drinking water.  Every child is different; use what you see fit.