Snowzilla 2016

snowzilla

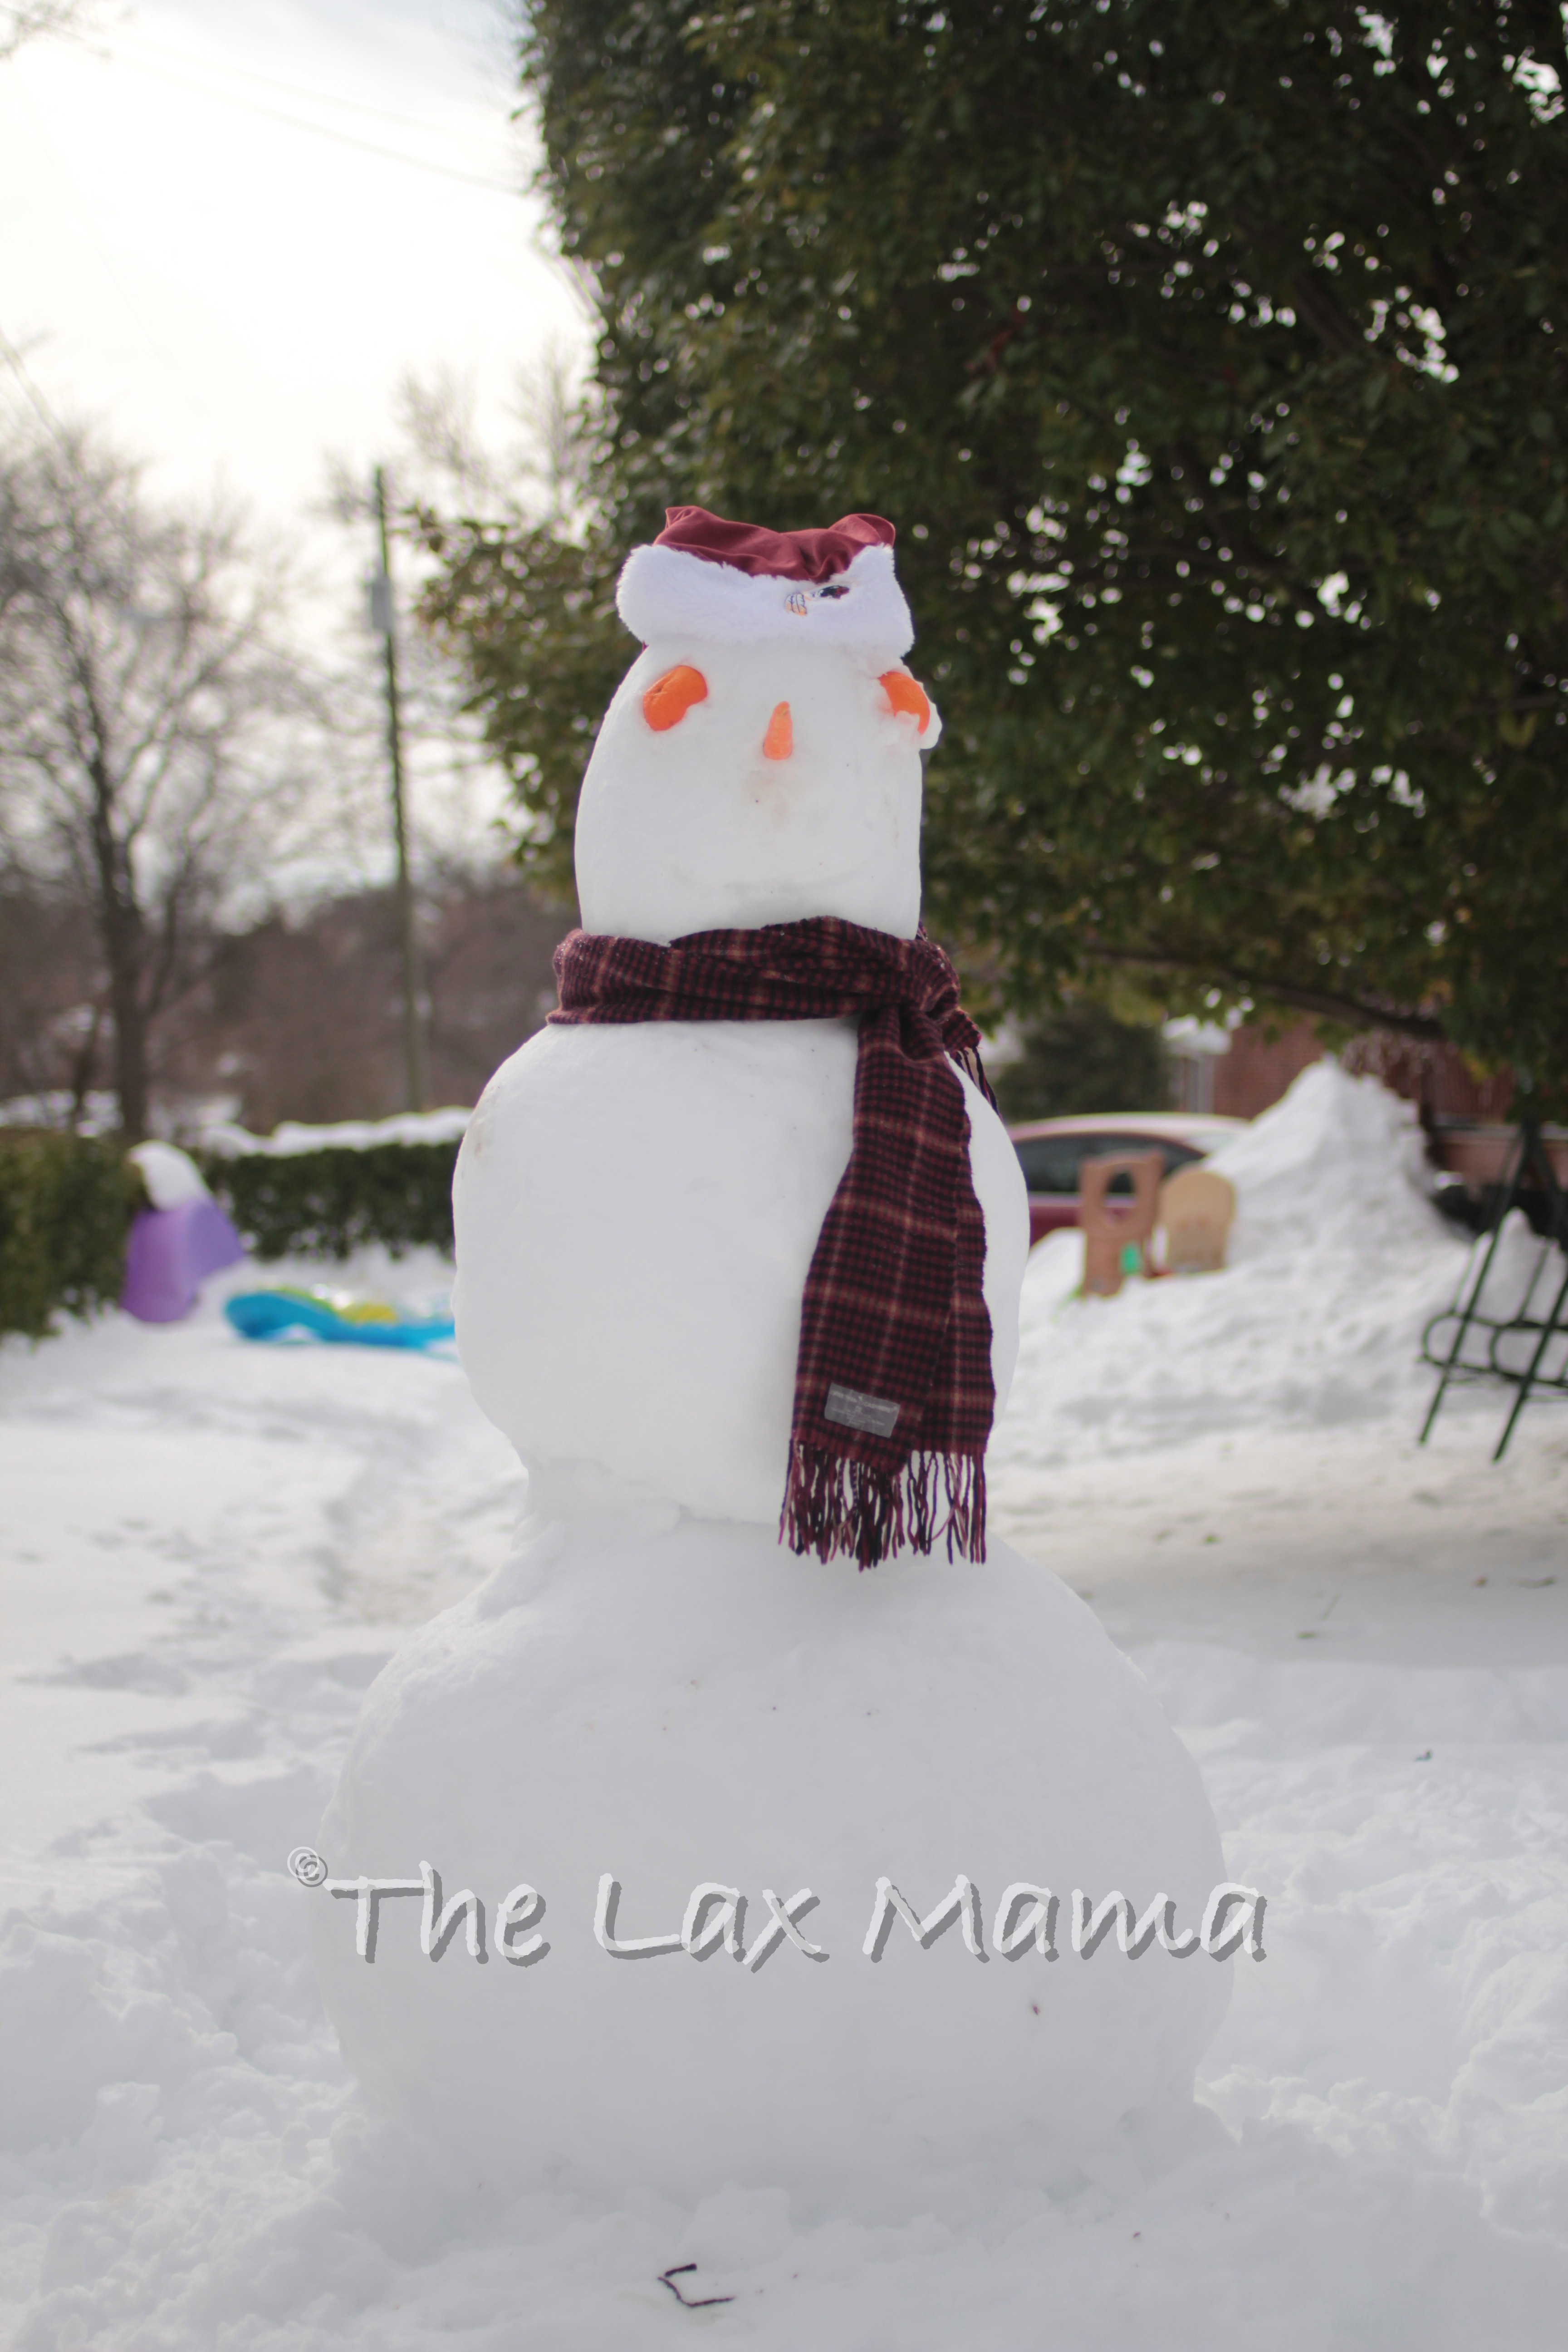
I was worried the day before Snowzilla arrived.  Mostly because I was afraid the power was going to go out in the middle of the blizzard, which means the heat will stop.  That’s the last thing I wanted to happen with two young kids in the home.  But we survived and we are all dug out of our 2 feet of snow thanks to our trusty snow blower.

The previous weekend we brought the kids to the zoo when there was a little snow falling.  We took the opportunity to catch up with friends who lived close by and have the kids see the animals.  One friend is Finnish, and we talked about what the weather is like in Finland (we’re attending her wedding later on this summer).  I admitted to her that we almost canceled on them today due to the weather, and I wondered what the Finnish do in the winter to cure their cabin fever.  She said, “There’s never bad weather, just bad gear.”  And she was right.  My kids had a blast outside in the blustery wind and very light snow, walking and looking at the animals.  I think we adults were more miserable.

When the snow began to fall for Snowzilla, I put them in snow gear and shuffled my kids outside the house.  The next day, after 14 inches had fallen so far I put the snow gear back on and kicked them out of the house.  Thankfully the whiteout conditions occurred later in the afternoon, but I’m glad I made them go outside.  We spent the entire morning making snow angels, “hiking”, and clearing our the driveway.  They had fun and napped so well.  Thank goodness for snow gear!

Here are things I love for my kids to brave the cold outside:

  • JJ Cole Bundle Me – I kind of wish they make an adult version of this.  We put this in the stroller when we go on a long walk outside and need the kids to stay toasty.  It also eliminates having to put on heavy thick layers only to take them off when they go inside.
  • Baby Snow Suit – I really like this one, especially since you can fold over the sleeves and legs so that their hands and feet are protected from the snow.  Since my daughter is walking now, we just have her in boots, but the sleeves are perfect.  Having her wear gloves is useless and always come off, but these are great.  She’s nice and toasty, and we go back inside she’s very dry from romping in the snow.
  • A good fury hat and mittens.  And any waterproof shoe!

I hate winter time and this cold weather, but I’m glad my kids are enjoying it.  I think outfitting them to brave the cold elements helps them.

Advertisement

Sammy’s First Birthday

So we celebrated my daughter’s first birthday over the weekend a few weekends ago.  First and foremost, that first year went by super fast.  I know it went fast with my son, but boy does it just happen faster with the second.  I feel like she was just born and suddenly she’s walking, talking, and turning more and more into a little girl.  But enough with the tears, you probably are interested in the party details for inspiration for your next soirée.

First, I didn’t quite have a concrete theme like cars or a princess party.  I did, however, have a color scheme in my head–pink and gold with hints of black.  So I went to Michael’s and bought the supplies, which included a lot of cardstock.  They had an ombre pack of pink cardstock, and so then it evolved into ombre pink and gold with hints of black.  I then ran with it when it came to party decorations, and that soon evolved into ombre pink circles and gold stars.

first_birthday01

first_birthday06

All our younger guests hung out in the play area where our kids have all their toys.  I also bought a cheap blow up baby pool and created a ball pit.  This was such a hit at the party; even the 9 year old loved hanging out in the pit.  I arranged the seating to be against the wall so that the parents can watch their kids playing in the middle.

I also set up a kiddie snack table for the toddlers/kids.  I created the bunting with my Silhouette Portrait, some craft tape, and pink twine, and it says, “Sammy’s Fave Snacks.”  We have an adjustable height table that we used to make the snacks accessible for our little guests.  I put out some apple sauce, teething biscuits, raisins, and Cheerios.  In hindsight, I should have probably put the Cheerios and raisins in a resealable bag since one of the tots decided to dump all the raisins into one big pile on the table.

first_birthday03

I also made these buntings.  The top one I used two different sized circle hole punches and a star hole punch, and then a sewing machine to string them all together.  It was actually pretty simple and my son liked to collect the different shapes and put them into piles for me.  I made 2 different and very long ones that we strung up around the house and cut down to size.

The middle set of pictures is the monthly picture bunting I made, again using my Silhouette Portrait, craft tape, a hot glue gun, clothes pins, and pink twine.  I then printed the pictures at Costco and they were ready in an hour for $.17 each I think.

The bottom picture is of the monthly picture bunting and another bunting that says, “Sammy Is One.”  I made that bunting with acrylic paint, stencils, black canvas bunting panels that were black, and then strung them together with pink twine.

first_birthday02

For Sammy’s high chair, I used the same blank canvas bunting panels to make the ONE, and strung it up with pink twine and just taped it onto a high chair.  And then we just added some balloons to make the chair more festive.

first_birthday04

The bottom picture is the cake table.  The left is the cake for all of our guests and the right cake is her little smash cake (which Sammy was sooooo not interested in at all).  They were made by a local baker called Occassionally Cake.  They made my baby shower cake, and they did a great simple job on my daughter’s cake.  And the cakes were sooooooo good!

I also did the first year stats on my Silhouette Portrait.  It was actually a bit of a pain at first–basically if you have fonts with a lot of intricate designs, it made Silhouette Studio crash.  After tinkering around, I found something that worked and I’m actually really pleased with the design.  It actually isn’t that hard to change out the pens to have it write what you want.  I then got a frame from Michaels, that also happened to be 50% off.  So a fairly cheap project that looks really great.

first_birthday05

Finally, the party favors.  I bought the mini bubble wands from Oriental Trading for fairly cheap.  And the tags I made with my Silhouette Portrait.  I then attached it with pink twine.  These were a great give away for kids since the age range of our young guests were 10 months to 9 years old.  Everyone loves bubbles!  I stuck them in an old pink Easter egg bucket and put it by the door so I wouldn’t forget to give them away to the kids.

Overall, the party went well.  Everything that I made was fairly simple and easy to whip up, so didn’t take up much time overall (although I did spread it out over a month and many many many trips to Michaels).  I also think the pink ombre and then adding gold and black accents helped to deaden that in-your-face-pink you see with some girl birthday parties.  Basically I was looking to do something feminine, but also not gaudy.  Hopefully I achieved that and have sparked some ideas for your next party.

Baby Jogger Glider Board

baby_jogger_glider_board

Instead of buying a double stroller I bought the Baby Jogger Glider Board.  I liked how it encourages Oliver to walk more, but can give him a needed break on long outings like the zoo.  At first I really liked it, but the more we used it the more I fell out of love with it.  Oliver still loves it, but he’s just too tall for it.  As pictured above, he is always standing to the side because the handle bar of the stroller is in his face (plus he can’t quite see what’s up ahead).  This may be different if we had the City Mini GT, but we have the City Mini and it’s just awkward.  If you are pushing the stroller it is also awkward for the parent because the handle bar doesn’t stick out far enough.  You end up kicking the glider board, so you either walk weirdly, like a straddle, or you kind of guide the stroller along from the side.  When the glider board isn’t in use you can kick it up easily and it has bands to keep it up.  But it just falls down–A LOT!  It’s so annoying that I just take the glider board off the stroller when I know I’m not going to be transporting Oliver around.  The installation and disassembly of it isn’t so bad, so I take the time to do it.  The board makes the stroller significantly heavier and bigger when you are trying to lift it in and out of the trunk of your car.  I love how the City Mini has a small foot print and how light it is compared to other traditional strollers.  But once you attach that glider board it is very heavy and doesn’t lie as flat as it does without.

For right now it’s not a big deal because Sammy is still small enough that I can put her in the Ergo if Oliver is tired and wants to ride in the stroller.  I’ll have to worry about what to do when she becomes too heavy to wear.  Hopefully I have another year before it becomes a problem.

Baby Merlin’s Magic Sleepsuit

baby_merlins_magic_sleepsuitThe last week we’ve put Sammy in the Baby Merlin’s Magic Sleepsuit.  I noticed that when she woke up in the middle of the night she wasn’t hungry (only nursed to sleep), but was half way out of her velcro swaddle.  A mom in my mom’s of 2 group swears by the sleepsuit, and so I thought why not.  And guess what?!  She now sleeps between 8 and 10 hours straight!!!  Milking an extra 2 hours is definitely well worth the $40.  Although sometimes her wake times fall at an awkward time where I think I should probably just stay awake (I’m talking 6am).  My only complaint about the product is her hands are ice cold, but her hands would probably be cold in a sleep sack too.

It’s not quite a swaddle in that she can move her arms or legs.  When Sammy is trying to fall asleep she will move her hands to play with her pacifier.  But when she is finally asleep the suit does muffle any movement she makes with her arms so that she doesn’t accidentally smack herself in the face and wake herself up.  She now wakes up when she makes deliberate moves with her hands to rub her eyes.

It definitely is a great product to transition away from the swaddle instead of cold turkey.  We went cold turkey with my son, which eventually worked for us after we did a bit of sleep training.  But I am hoping that we have instilled good sleep habits with Sammy that no training will be required.  Ultimately we are going to have her in sleep sacks, but I think she still likes the cozy feeling a swaddle provides.  And this product gives her that.  So far so good in our household.  Let’s hope she keeps it up!!!

Flying With Tot

IMG_0006So we recently flew to the East Coast and back with our toddler.  This is a big deal since we now have to pay for his seat and he can finally collect air miles!  Although it is annoying that the price of his seat is the same as an adult.  But that’s another blog post.

Anyhoo, if you’ve ever flown with children, you know how annoying lugging around a car seat is through the airport while wrangling your child and hand carry (no matter how light your try to pack).  Thankfully we bought a CARES Harness, because lets face it–that lap belt barely keeps an adult in their seat, let alone a small child.  The CARES Harness was really easy to install, doesn’t take up room in a hand carry (it fit easily in my purse), is super light, and most importantly it is FAA approved!  My toddler didn’t mind either–to him it was like putting him in his car seat.  My one complaint about the contraption is that my son ended up sliding through the bottom since there’s no fastner in the crotch area to keep him up-right.  Otherwise we were really happy with it.  So if you are flying with your youngster any time soon, I highly recommend getting this product!!!

Cloth Diapering

cloth_diapersSo my family cloth diapers.  Though it may appear granola, we actually do it to save money.  While many will argue that cloth diapering saves our environment, in practice it doesn’t according to this Stanford article.  And this is what I have argued with many people about, which is weird since we cloth diaper.  Basically, the water and energy used to produce and wash cloth diapers is basically equal to their disposable counterparts.  So if you really want to save the environment, you should look into compostable diapers (which are way more expensive than disposables).

Anyhoo, we cloth diaper to save money.  How you may ask?  So here’s the breakdown of how we are saving money.

Cloth Diapering
Cloth diapers
– 3 packs of 6 x $11.99 = $35.97
Diaper Covers – 5 x $12.75 = $63.75
Cloth diaper fastener – 1 pack x $11.25
Total = $110.97*

This gives you enough diapers where you do laundry every 2-3 days.

For our newborn, we go through about 50-70 diapers in a week.  Yes, you wouldn’t go through as many diapers if you were using disposables because they are more absorbent so you wouldn’t change the baby as often.  So let’s say if you were using disposables you would be on the low end of usage, so 50.  Pampers Swaddlers are $45.99 for a pack of 216.  This breaks down to $0.21 a diaper, or $10.50 a week.  So by the time our baby is 11 weeks old, we’ve already made our return on the cloth diapers (which should last until the baby is 15 lbs, which our son reached at 6 months old).  This is also the second time we’re using the cloth diapers.  So let’s say we get 12 months usage out of the cloth diapers since we are using them with both kids.  There are 52 weeks in a year.  And say we average about 60 diapers a week, which means we go through 3,120 diapers during that 12 months.  That breaks down to $.04 a diaper!!!  And it will only go down more if we use it with another child.  On top of that, we can recoup some of our costs by reselling the diapers (yes, there’s a market for cloth diapers out there!).  So you see, we are trying to save money here.

These are enough diapers to last 2-3 days between washes.  You can add more or less depending on how often you are willing to do laundry, and that will change how much you spend per diaper.  And honestly, it’s not as difficult as it appears, especially a breastfed baby.  Because breastmilk is water soluble, poops will go away in the wash.  We also don’t put the diapers in the dryer (although a friend of mine does), which adds a bit more work.  But we just let them sit out in the sun to bleach out the poop stains, that do in fact go away at the end of the day.  But it’s just another small load of laundry.  My friend (who is a working parent) puts the diapers on before bed, and then puts them in the dryer before she goes to work so that they are done when she comes home.

But I realize that for many parents out there, it’s not compatible with your lifestyle.  We are all busy and sometimes disposable diapers are the answer (we still use them here and there).  There are fancier diapers that have less moving parts, like all-in-ones that mimic disposables in that you just take the entire diaper and put in the bin for the wash.  So really if you are willing to do laundry to save money, then you should look into cloth diapers.  But don’t feel bad if you need to use disposables (like I said, we still use them here and there).

*I’m not including water and electricity in the total as they end up looking negligible on our monthly bills.

Christmas Presents

Christmas is just 4 days away, so this post may be late for almost everyone.  But here’s a tip for parents out there regarding Christmas presents.

If you are anything like our family, your kid probably has A LOT of toys.  We certainly don’t have room in our house for said toys.  And even if we did, you know that most toys collect dust because there are other toys they are obsessed with.  Plus you don’t want to deal with the clean up, especially toys with lots of parts (but that’s another post).  The problem with Christmas presents (and presents in general) is that people will buy your kid so many toys you/they don’t know what to do with.  You may get a book or two (which we love), but you still get toys!!!  And then you have to deal with the hoopla around the hottest Christmas toy.  No thank you.

This is Oliver’s third Christmas, and his second where we (think) he knows what’s going on.  Instead of letting our families go crazy on the toys, we suggest that they buy us memberships to museums and the zoo.  Why?  These are places we frequent, especially on rainy days.  For example, the zoo costs us $14 a person each visit.  A family membership is $115 for the year.  If I go with my kids, I only have to go 8 times before we recoup of the cost of the membership (4 times if my husband goes too).  If you know you are going to go that many times in a year, you should definitely get a membership.  Why not have family gift it to your family?  My son loves the zoo and we go once a month.  He gets to run around, learn about animals, and we don’t have toys cluttering up our house.  Same thing goes for museums and aquariums.  These provide great rainy day back ups so you aren’t cooped up inside your house.  For example, the California Academy of Science cost $30 each visit or you can get a membership for $99.  No brainer really.  Have someone gift the membership to your family.  It’s more valuable and educational than a piece of plastic.

Registry Items: Car Seat

Probably one of the most important purchases you’ll ever make is a car seat.  You want to provide the best protection from a car crash for your precious package.  But with so many choices and a wide price range, it can drive any parent crazy.  Where do you even begin?!

1.  Check your car’s owner’s manual!
Yes, you read correctly.  Step one, check your owner’s manual.  Some owner’s manuals will actually list the car seats they recommend you install in your car.  They actually list a few, with a wide range of  prices to fit your budget.  If your owner’s manual doesn’t list car seats, you can also try Googling your car’s make, model, and year along with the key words “car seat”, and you’ll probably come across your car’s aficionados and parents with their recommendations for car seats.

2.  Infant vs. Convertible vs. Booster?
First, you won’t need a booster seat for a very very long time (like 4 or 5 years old).  They are also pretty inexpensive in the grand scheme of car seats available, so don’t even bother including them in the registry, especially since most of these things carry an expiration date.

This now leaves you with either the infant or convertible car seat.  Some parents skip the infant car seat altogether because they will only use them for a few months to a year (depending on how fast the kid grows).  This is especially a good idea if you are trying to be as frugal as possible.  And if you aren’t going to be riding in a car as much, it is probably best to skip it because most convertible car seats on the market come with an infant insert and can be seated rear facing.  I will caution that some convertible car seats start have high minimum infant weights, so keep an eye out for that when you make your purchase.  Another con to the infant car seat is that it gets really heavy when you lug it around with your infant in it.  Many parents hate this, and if you are just going to take the babe out of the car seat anyways, why not just start with a convertible one.

The pros to an infant car seat is that they are pretty snug in there.  I find an infant is more cozy in an infant car seat and seems more protected.  In a convertible car seat, I feel they are far too upright, and with poor neck muscles I personally worry.  It’s also nice that you can just pull the entire car seat out and plop it into a stroller or just take it right into your house especially when you have a sleeping infant.  You don’t have to wake the baby up just cause you reached your destination.

3.  Installation
Most car seats in the USA easily install with the LATCH system.  It really does simplify car seat installation (although I still recommend you get your installation checked by a professional at your local fire house, police station, or AAA).  Even with LATCH, you still need to make sure that your car seat is leveled.  And this is when a lot of seats vary.  Some just rely on you to look at a line and eye how level it is.  Others actually come with a built in level bubble thing so you can see if your car seat is in fact level.

Other things to keep in mind is if the car seat is FAA approved if you anticipate doing any air travel with your babe.  Also if your car seat is compatible with the stroller you want to buy if you plan on using it as a travel system (you’d be surprised how some car seats aren’t compatible at all with other things).  Also, you want to check how easy it is to pull the infant car seat in and out of its base.

What does our family use?  For our infant car seat we have a Chicco Keyfit 30.  It was pretty simple to install, even the police officer who checked our car seat commented that he loved installing these seats cause it was easy.  It wasn’t the recommended car seat when we bought our new VW when we moved to SF.  But it works, and we are happy with it.

Our convertible car seat is a Britax Roundabout.  This was recommended by our VW owner’s manual.  It has a pretty small foot print, which is great.  It’s really easy to get our toddler in and out.  And the installation wasn’t terrible.  We also love how Britax has a Youtube channel for installation.  So if you are stuck trying to interpret something from the installation manual, you can always visually see what they mean on Youtube!

So many car seat choices, but hopefully you’ll settle on one (or two) that you will love and fits in your budget.  And don’t forget to have your car seat professionally checked!!!

Registry Items: Stroller

So I’ve been asked about what items to register for.  So I’ll try to start a series of registry items that I endorse and tips on how to choose the right item for you.  And we shall start with probably one of the biggest items new parents dwell on–the stroller!

There are so many freaking strollers on the market with varying price ranges and accessories.  You can easily suffer from buyer’s remorse with all the choices out there.  Here are a few tips to help you find the right stroller.

1.  Figure out how often you are going to use your stroller.
Evaluate what uses you are going to use the stroller and how often you expect to use it.  Are you going to be a stay at home parent who will be out and about without a car most times?  Perhaps a standard stroller is right for you.  Do you plan to do a lot of running with your baby or go “off-roading” more often than strolls in the park?  Maybe you should consider a jogging stroller.  Are you going to be a weekend warrior stroller type because you’ll be working and the baby will be in daycare most days of the week?  You might be able to get away with a light weight umbrella stroller.  Do you plan on having your baby in their car seat as you stroll around?  Then you might be interested in a travel system or snap-and-go stroller.  The point is, figure out how you will be using a stroller in your baby’s life.  You don’t want to invest $200 on a standard stroller when it is just going to sit in the closet save for your occasional trip to the zoo in the summer.  And you also don’t want to buy a $75 umbrella stroller than you’ll run into the ground after a year.  Once you figure out how you’ll use your stroller, then you can finally focus on a few strollers you’ll get good use out of.

2.  Test, test, test!
Registering is so easy since you can do everything online.  But if there’s one thing you need to physically go to a store for, it’s to test out strollers!!!  Going to Babies R Us and Buy Buy Baby are good starts–and yes, you should go to both stores because not all stores carry all the strollers you can try.  The most important thing is to see how easy it is to fold and unfold strollers that interest you; no website can tell you how easy it is for you personally.  If you can borrow a friend’s baby, do it!  Can you fold and unfold a stroller while holding a baby?  Eliminate any stroller you think is heavy, especially ones that are heavy with a baby in the other hand.  Try to stuff things in the stroller basket underneath.  Do you think it’s adequate enough?  Is it easy to get your baby bag in and out?  You can read so many reviews, but you won’t know a thing unless you thoroughly try out every stroller on your short list.  And I’m dead serious about having a kid on hand; it totally makes a world of difference.

3.  The “perks”.
Now that you have narrowed down your stroller list to 2 or 3, figure out the “perks”.  Does it come with an adult cup holder for your water (technically you shouldn’t have coffee there since it could spill on your baby)?  Does it come with a baby tray?  Can the baby lie completely flat for naps?  Can you snap in a car seat or do you need to buy the attachment?  There are so many things to consider, and many of the high end strollers don’t come with these “perks”.  Figure out your budget and what perks you can live and live without.

It sounds like a headache, and honestly it is.  But if you follow these tips, hopefully you can avoid buyer’s remorse and you’ll be happy with your stroller purchase for a long time.

And for those of you who are interested, we are a Baby Jogger family.  We started off with a travel system because it seemed sensible at the time.  But after a month of using it, I hated and really dreaded going out with the stroller.  We have two Baby Jogger strollers (which I know seems a bit excessive).

Our first one is the City Mini.  It lives in our car trunk (which you can see below).  Once a week my son and I would go to the zoo, museum, Golden Gate Park, etc.  It’s compact and great to keep in our car trunk since it folds up flat.  We’ve also taken it with us around the world.  It fits easily through the x-ray machine at airports, and is a snap to fold up when you have baby and a carry on to juggle when you drop off the stroller at the gate.  It serves us well, and we are very happy with it.

city_mini_1 city_mini_2

Our other stroller is the Summit.  It’s definitely heavier and bulkier to the City Mini, but we use this when we are going to walk to our destination from home (at least 2 miles worth of walking each trip).  With the steep hills of SF, it’s nice to have a hand break and the stroller doesn’t go on it’s back wheels because it is heavier.  We’ve also taken it off-roading and I’ve jogged with it a few times.  It’s really nice and smooth.

Baby Jogger is a bit pricey, but we are happy with them.  We also get really good use out of them too.  I also like how the accessories we’ve bought work for both strollers (we have the child’s tray and car seat attachment).  And with baby #2 on its way, I’ll probably end up getting the roller board that also works with both strollers.

Definitely don’t enter your stroller decision lightly.  It’s one of the most expensive purchases you’ll make or register for, so make sure you pick out something you’ll love!!!

Play Area: Before & After

So our house is fairly small (although pretty big by SF standards).  Because I’m at the stage of pregnancy where nesting kicks in, we rearranged the living room.  This is huge since I was too tired to really care about how things were laid out when we first moved in (Oliver was almost 4 months old then).  So I left it up to my husband to do the layout, and let’s just say it wasn’t ideal in the long run.  Anyhoo, we moved the furniture around two weeks ago to maximize the amount of room we have, which also means we created a designated play area for Oliver, and soon baby dos.  But the state of the play area was kind of gross.

play_area_before_1So here is the gross looking play area looking from one of the couches.

play_area_before_2This is the designated art area, which I actually like.

play_area_before_3For the love of God, all the toys and madness!

play_area_before_4And this ugly old entertainment center that we used to collect random stuff.

When we moved to SF, most of our furniture we bought from a friend who was moving to Singapore.  Needless to say, we inherited A LOT of “bachelor” furniture.  Dan argued that it saved us money and he also didn’t anticipate us staying for more than a year.  Almost 2 years later, we are still left with a few undesirable pieces in SF.  So the first thing to go was this ugly entertainment center that, thankfully, the Salvation Army gladly came over to pick up.  Their website said that they would reject any furniture they thought wasn’t good enough (something like that), and I thought that this thing would certainly be rejected.  So I was quite happy and relieved they hauled it away!

In my head, I had an idea of what I wanted to do with the space once they ugly thing was gone.  A purchase from Etsy and Ikea later, I was ready to make the area what I envisioned in my head!

play_area_after_1Art area is still the same.

play_area_after_2The new toy area/reading nook.

play_area_after_3The best the toys will ever look–EVER!

play_area_after_4Some prints for I hung up specifically for the space.

play_area_after_5A better looking piece for the books and some storage.

I absolutely love the prints I bought on Etsy from Niko And Lily.  They aren’t too kiddish for a shared space with adults.  I bought them already matted because I knew that Ikea frames come with mats that are irregular, and it would have been a pain in the butt to try to make them fit.  You can buy the prints without the mats and probably go to another shop for the frames, and probably save more money that way.  But it was just easiest for me to go this route since I already had the frames.  FYI, the frames are the Ikea Ribba frames and they fit perfectly!

I also like how we are able to use Oliver’s chair, after it was on hiatus the last year (I took Oliver’s monthly photos in this chair when he was first born.).  Even though he can’t “read” on his own, he will sometimes sit in his chair and look at the books.  Hopefully it will be a true reading nook in the future.  And the chair is awesome because adults can sit in it too, and it’s light and portable enough that we can move it around the house.  The chair is from Pottery Barn Kids.

The one thing I still need to add are bookends.  I haven’t found the right bookends for the space that are cheap enough (i.e., <$20).  If you pay close attention to the books that are sitting on top of the shelf, they are a mix of books for when Oliver is older and some cooking books.  I’m looking for bookends that aren’t too childish or sophisticated.  So that is still in the works.  Hopefully I’ll find what I’m looking for before baby dos comes.

So the new and improved play area!  Hooray!  Next up, a gallery wall.  GASP!!!